How to Lift a Truck Yourself: DIY Step-by-Step Guide

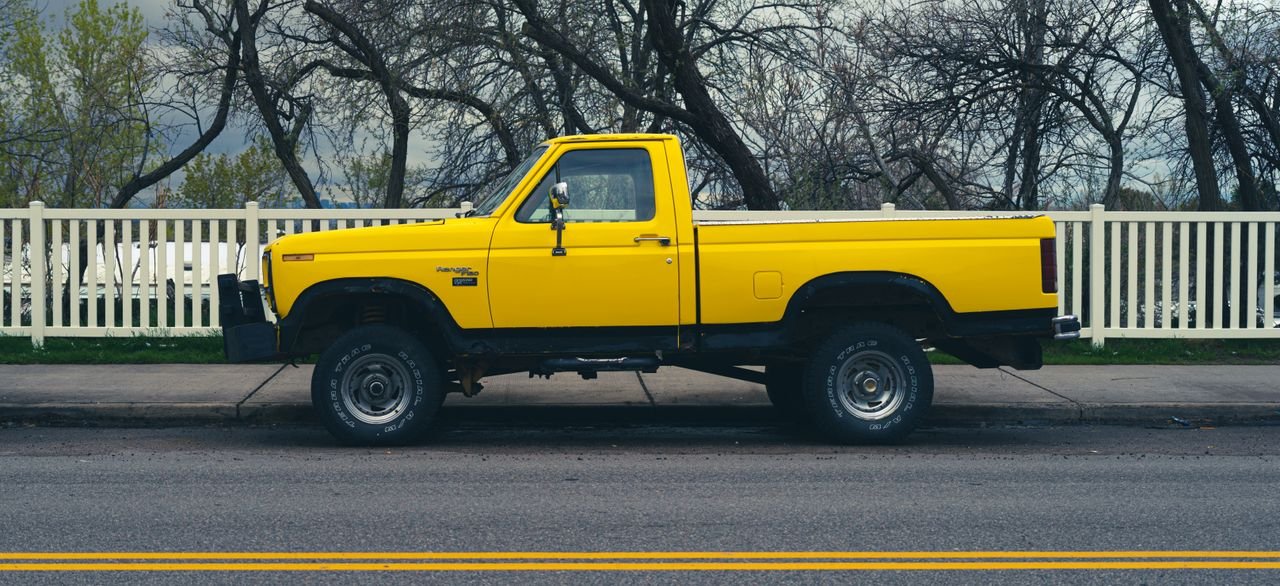
Yes — you can lift a truck yourself. Learning how to lift a truck yourself DIY is mostly about picking the right kit, having basic tools, and treating safety as the top priority. A leveling kit or small body lift is a realistic weekend project for a home mechanic with a garage, a floor jack, jack stands, and a torque wrench. Taller suspension lifts take more time and experience, but a confident DIYer can still handle them.
This guide covers the whole job: choosing the right lift type for your goals, the tools you will need, a step-by-step installation, and the mistakes that catch beginners out. Follow it carefully for a truck that sits higher and still drives straight.
Know Your Lift Options Before You Buy
Not all lift kits do the same thing. Knowing how to lift a truck yourself DIY starts with choosing the right type for your goal — looks, bigger tires, or serious off-road clearance.
Leveling kit (1–2 inches)
Most trucks sit slightly lower at the front from the factory. A leveling kit raises the front to match the rear using spacers or adjusted struts. It is the cheapest and quickest option, usually done in a few hours, and it lets you fit slightly larger tires.
Body lift (2–3 inches)
A body lift raises the truck’s body higher on the frame using spacers, without changing the suspension. It makes room for bigger tires at a low cost, but it adds no ground clearance under the axles and the ride feels exactly the same as stock.
Suspension lift (3–6 inches or more)
A suspension lift replaces or extends suspension components — shocks, springs, control arms, and sometimes driveshaft parts — to raise the entire truck. This is the most capable option for off-roading: more clearance underneath and room for much bigger tires. It is also the most expensive and most involved install, and the one most likely to change how the truck handles.
For a first DIY lift, a leveling kit or a modest 2–3 inch suspension lift from a reputable brand is the sweet spot. Unbranded kits may ride harsher and wear faster — check reviews. To compare real kits by vehicle, browse Tire Rack’s lift and leveling kits section for specs and lift heights.
Safety First — Read This Before You Start
A truck weighs two to three tons, and you will be working underneath it. Take this seriously:
- Work on flat, solid concrete — never on grass, gravel, or a slope.
- Use jack stands rated for your truck’s weight, and chock the wheels that stay on the ground.
- Never get under a truck supported only by a jack.
- Wear safety glasses and gloves. Suspension parts are heavy and springs store serious energy.
- Keep a helper nearby. Lifting and positioning heavy components alone is asking for trouble.
- Keep the kit instructions open while you work and follow them over any generic guide.
Tools and Parts You Will Need
Gather everything before you start so you are not stuck halfway through with the truck on stands:
- The lift kit itself, matched to your exact truck — year, make, model, and 2WD or 4WD
- Floor jack and a pair of heavy-duty jack stands
- Torque wrench — you will need it for every bolt you touch
- Socket and wrench set, plus penetrating oil for rusted bolts
- Pry bar and, for some kits, a coil spring compressor
- New hardware if your kit does not include it
- A wheel alignment appointment booked for after the job
While the truck is apart, it is a good time to inspect fluid levels and top up anything low — here is how to check car fluids the right way.
How to Lift a Truck Yourself DIY — Step-by-Step Installation
Step 1 — Prepare the truck
Park on level concrete, set the parking brake, and chock the wheels you are not lifting. Loosen the lug nuts on the wheels you will remove while the truck is still on the ground. Read your kit’s full instructions before touching a bolt — every kit has quirks.
Step 2 — Lift it and secure it on stands
Jack up the truck at the manufacturer’s recommended lift points and lower it onto the jack stands. Give the truck a firm shake to confirm it is stable before you get underneath. Remove the wheels.
Step 3 — Remove the old components
Following the kit instructions, unbolt the factory components the kit replaces — typically spacers, shocks, or coil springs. Spray rusted bolts with penetrating oil and give it time to work. Support heavy parts as they come free so nothing drops or swings.
Step 4 — Install the new lift components
Fit the new spacers, struts, shocks, or lift blocks exactly as the instructions direct. On taller lifts, watch for stretched brake lines, ABS sensor wires, and steep driveshaft angles — reroute or extend them as the kit specifies. Snug every bolt now; final torque comes later with weight on the wheels.
Step 5 — Reinstall the wheels, lower, and torque
Put the wheels back on, lower the truck off the stands, and torque every lug nut and suspension bolt to the manufacturer’s specification with your torque wrench. Do not eyeball this — under-torqued suspension bolts are genuinely dangerous.
Step 6 — Test drive and get an alignment
Start with a slow drive around the block, listening for clunks and checking that the steering feels normal. Then drive at normal speeds and note any vibration or pulling. Any lift changes your suspension geometry, so a professional wheel alignment afterward is mandatory — skip it and you will chew through expensive tires. If the truck shakes after the lift, our guide on car shaking while driving will help you track down the cause.
Common DIY Mistakes to Avoid
- Skipping the alignment. The single most common — and most expensive — mistake.
- Guessing torque specs. Suspension bolts need exact torque. Look up the numbers and use a torque wrench.
- Buying the cheapest kit. Poor-quality spacers and shocks ride badly and can fail early. Stick to known brands.
- Ignoring brake lines and wiring. On lifts above about 3 inches, factory brake lines and ABS wires can end up too short. Fix this during the install, not after.
- Forgetting the re-check. Re-torque all suspension and wheel bolts after 50–100 miles of driving.
When to Call a Professional
Lifting a truck yourself does not mean doing every job solo. Get professional help if your kit requires cutting or welding, if driveshaft angles need correction you are not equipped for, or if anything under your truck does not match the instructions. A bad suspension install is a safety risk to you and everyone else on the road.
Frequently Asked Questions
How much does it cost to lift a truck yourself?
A leveling kit runs $200–$600, a body lift $300–$800, and a full suspension lift $1,000–$3,000 or more, plus the alignment ($75–$150). Doing it yourself saves several hundred dollars in labor.
How long does it take?
A leveling kit takes 3–5 hours for a first-timer. A full suspension lift is a weekend job — plan 8–16 hours, more if bolts are rusted solid.
Will lifting my truck void the warranty?
Not automatically. Under the Magnuson-Moss Warranty Act, a manufacturer must show the modification
caused the failure before denying a claim. Still, suspension-related claims on a lifted truck get extra scrutiny, so keep your stock parts.
Do I need an alignment after lifting my truck?
Yes — always. Any change to ride height alters camber, caster, and toe. Book the alignment as soon as the install is done.
Is lifting a truck legal?
Usually, within limits — but bumper height, headlight height, and tire coverage laws vary by state and country. Check your local regulations before going tall.